Zachary A Porter
Zachary A Porter
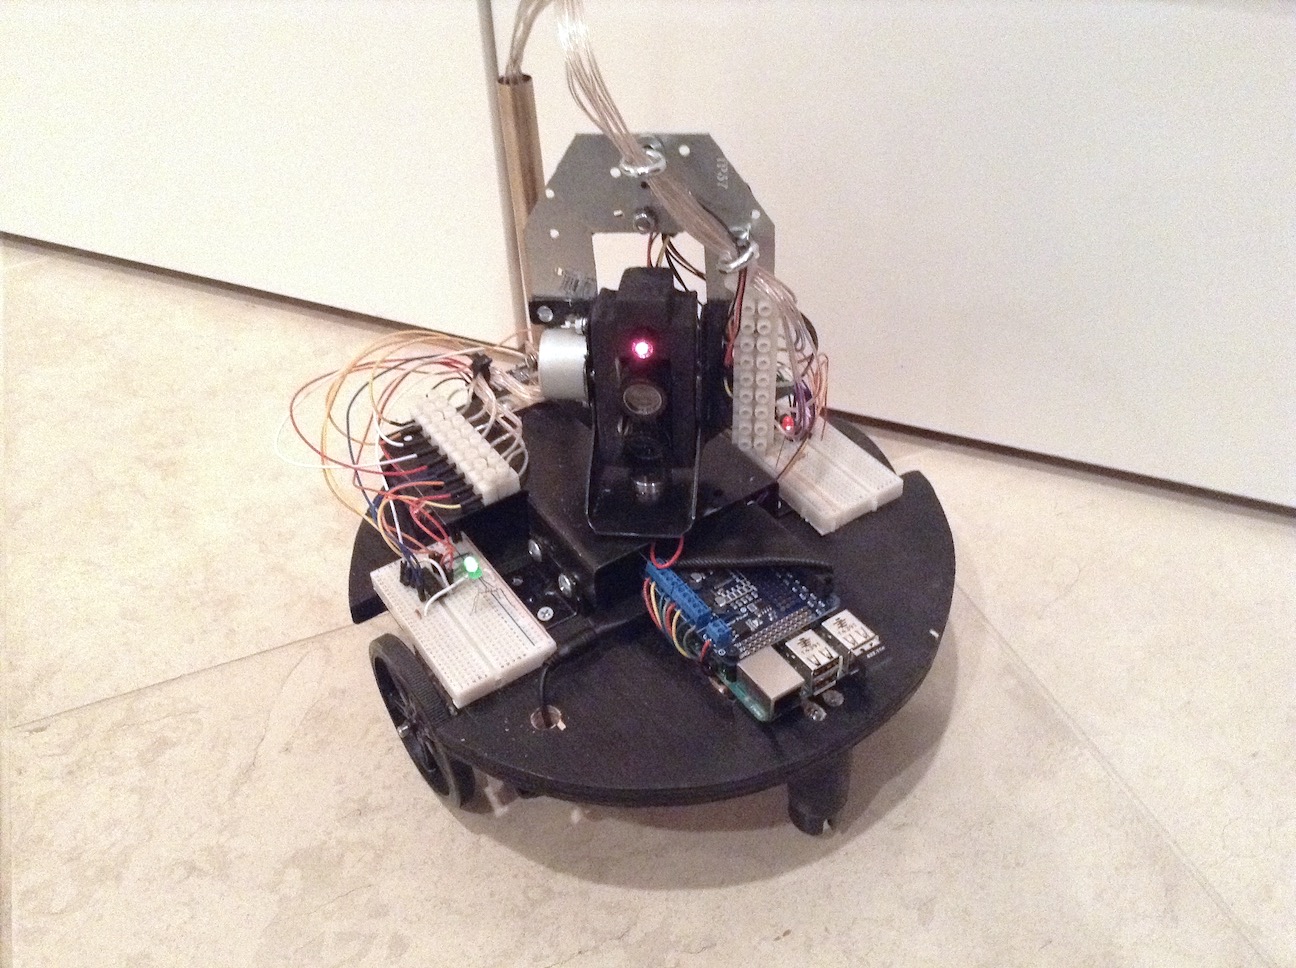
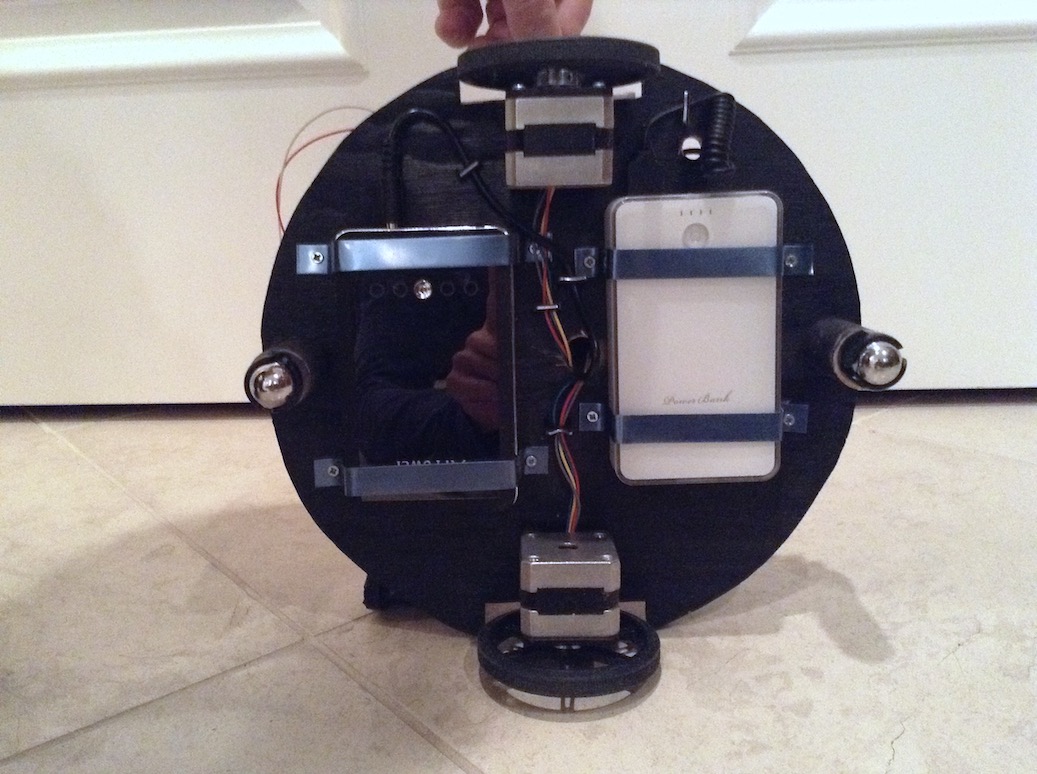
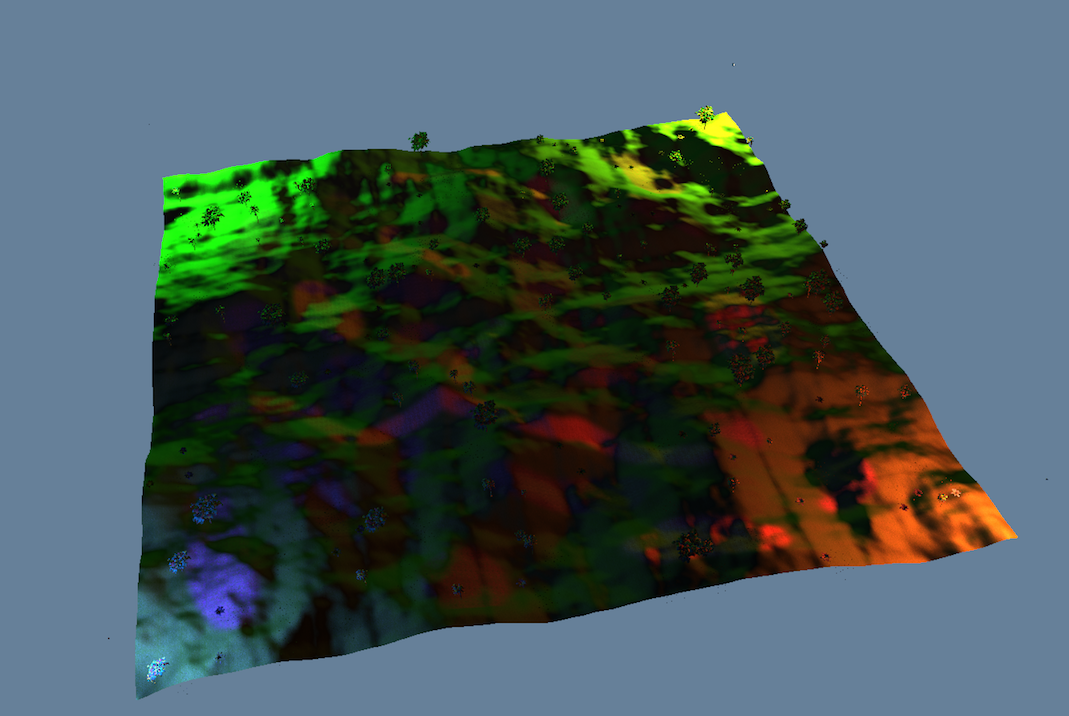
I designed this robot as my entry into the 8th grade 2015 Seattle Public Schools Science and Engineering Fair. At the fair, I was proud to win the "Best Overall Engineering Project" award for all of Seattle. This project aimed at providing detailed maps of real world settings that could then be used for various home-remodel projects. One feature I was particularly interested in was to build a model of a room and then easily let people simulate changes by adding different items of furniture to it. During demonstration the project only functioned in 2D, although 3D mapping is supported in the hardware and would only require various software changes.
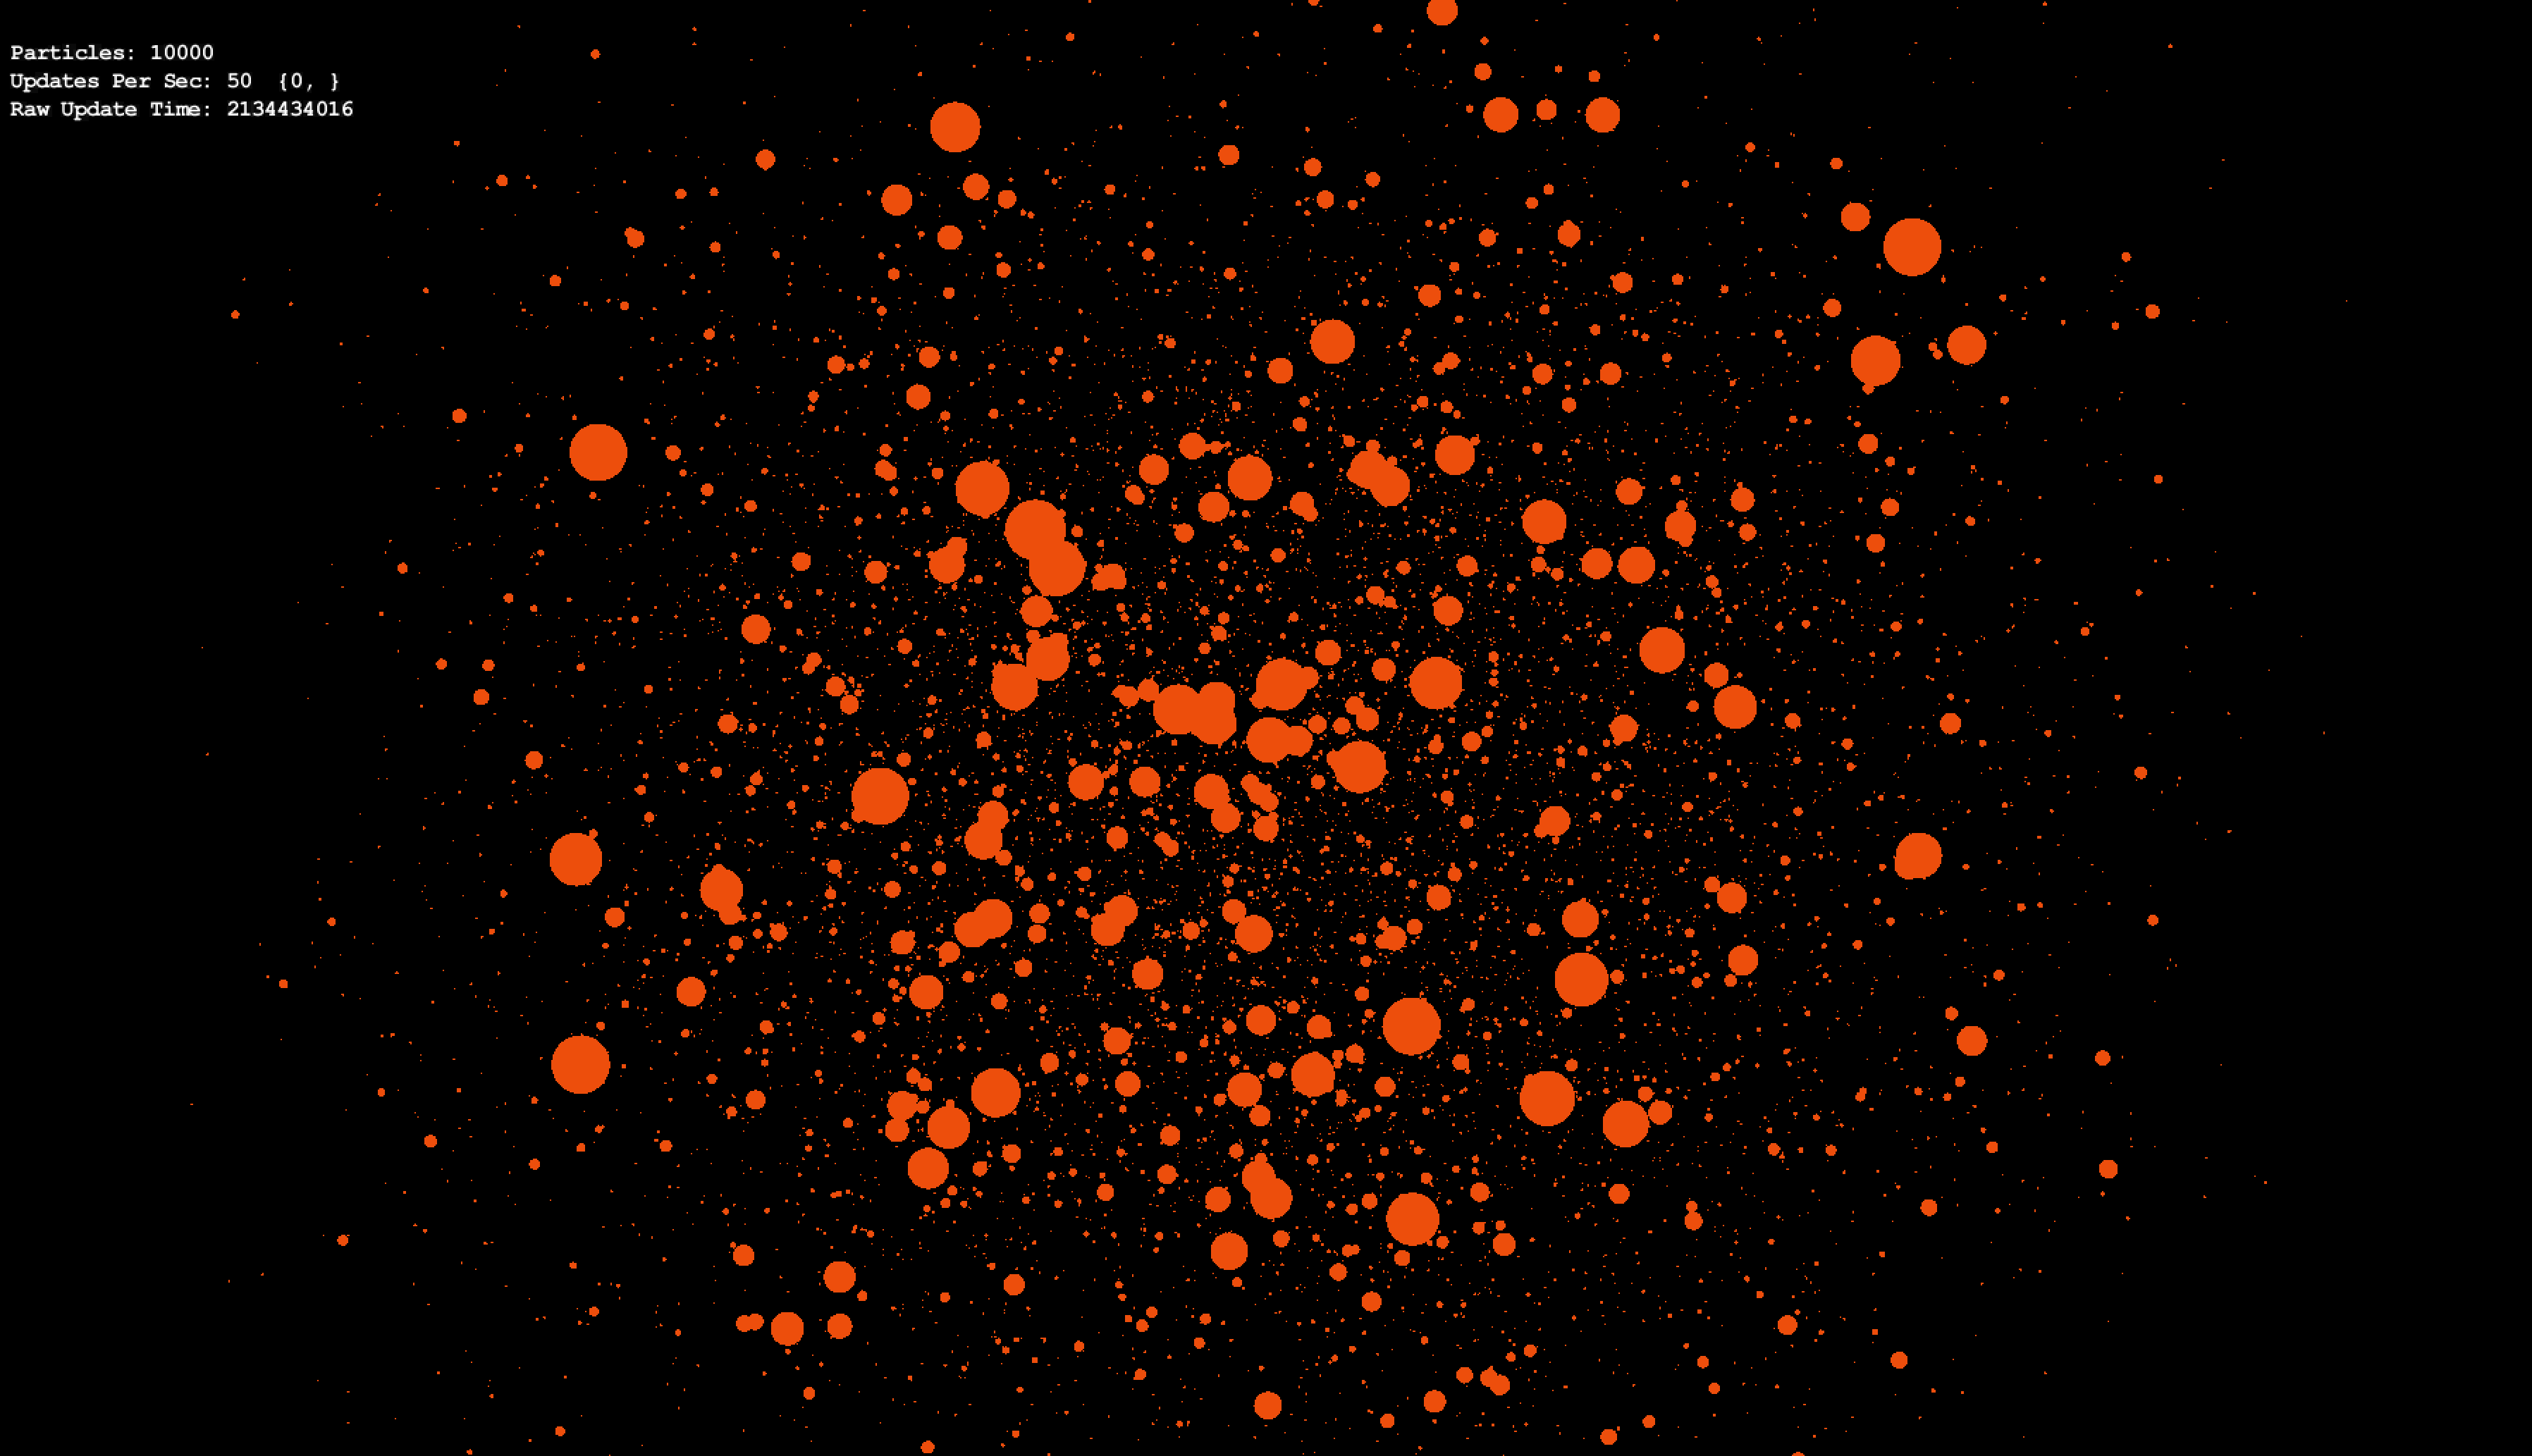
This robot works as a team with a standard computer on the same wireless network. The computer visualizes the data and allows for manual control if needed during the automated scan. It also allows for the actual robots' programming to be a simple 300 line python script that listens to a socket. The main computer gives simple text commands such as "SERVER/TURN_RIGHT/59", which tells the robot to turn right 59 degrees. On the computer is a much larger Java program running my graphics tool, which provided a simple visualization of the data with large amounts of information. The resulting maps could be stored
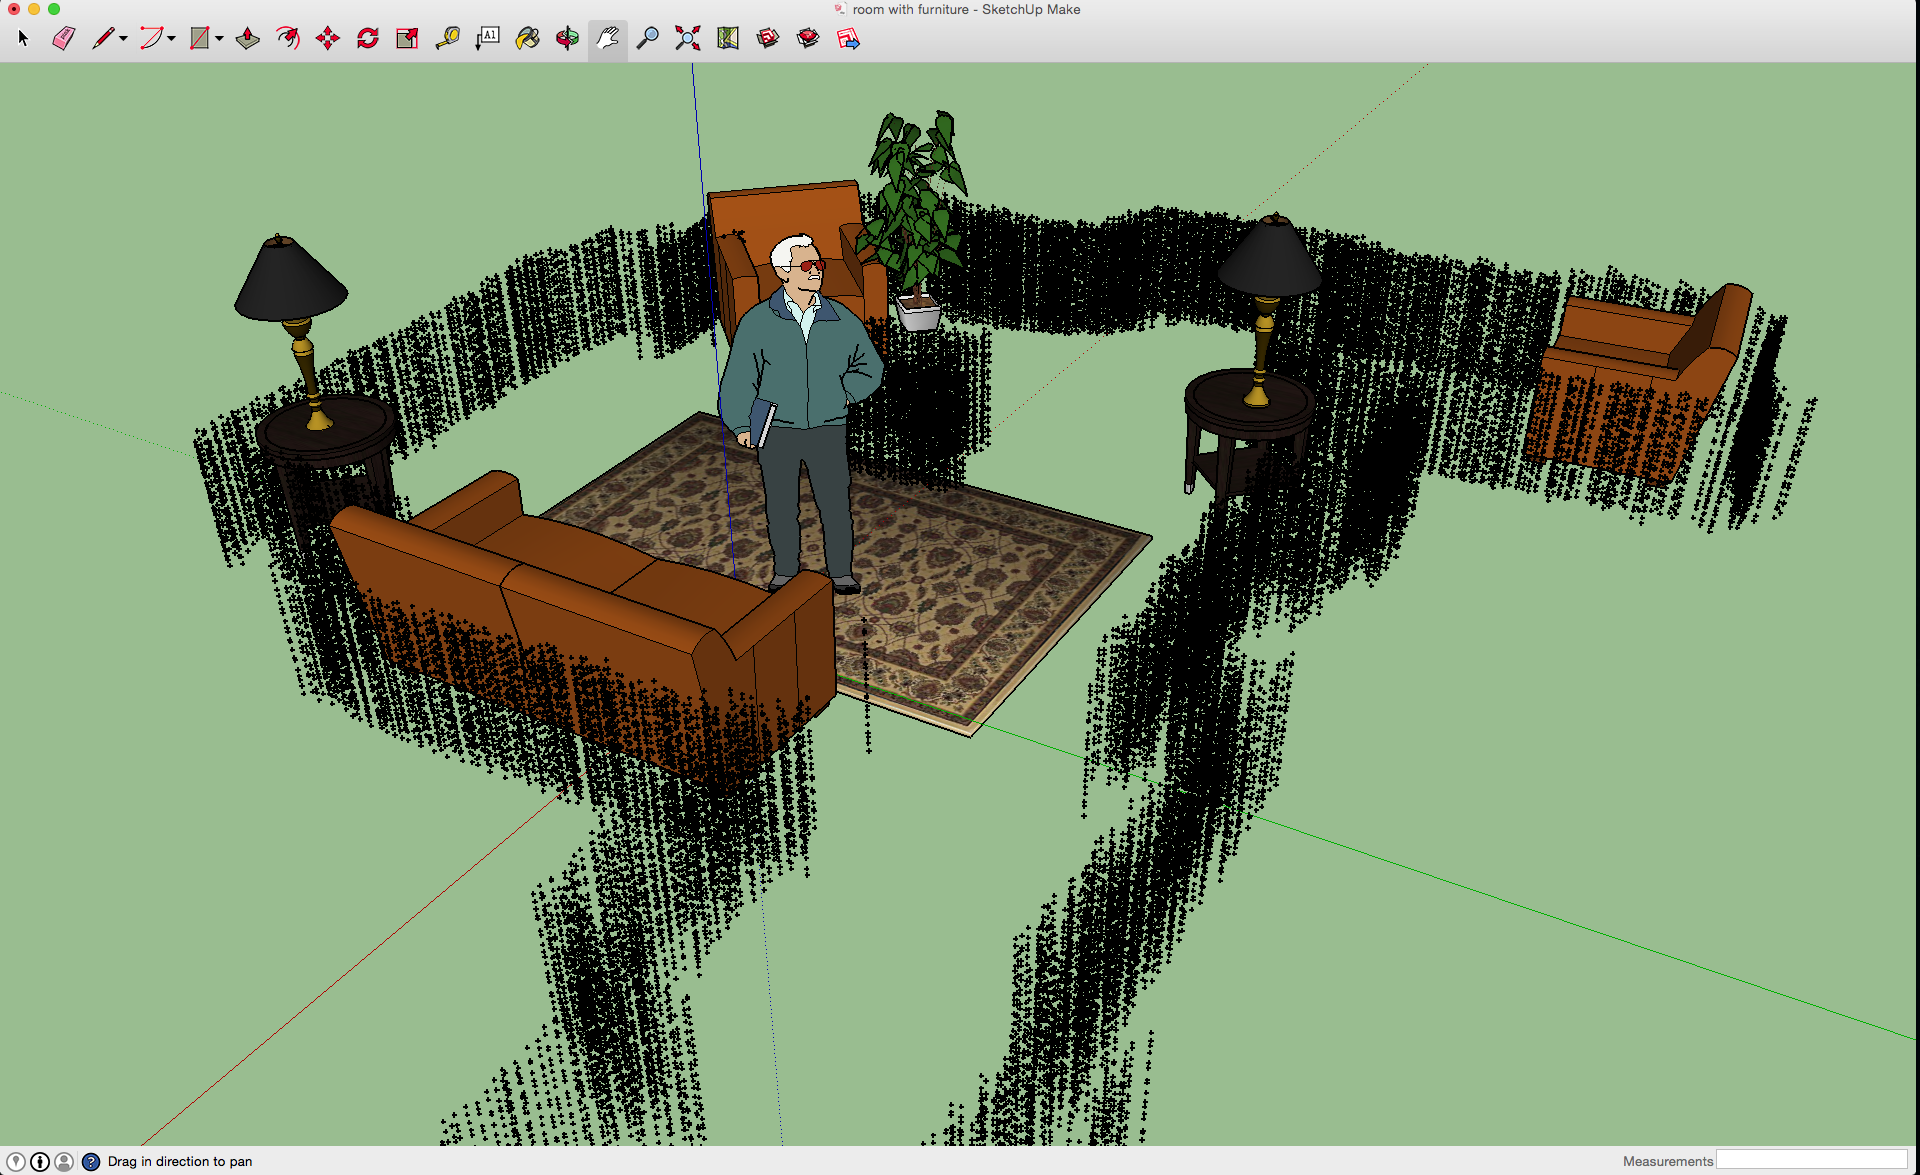
as .csv files meaning that Google SketchUp up will happily render them, and will allow you to add in other SketchUp items such as furniture, people, etc.
This would allow real developers to see the map in 3D while using the tools they are familiar with.
One particularly interesting aspect of this project is that I learned the difference between theoretical computing and actual engineering. The LIDAR sensor I was using would often give spurious false readings. If it gave a false close reading, the robot would decide that a wall was there and would not explore that part of the room. For that reason, I built a "confidence score" algorithm into the program, where physical points could lose confidence of being a wall if the laser saw points behind them. Because of this, the program was able to deal with LIDAR-, feline- and sibling- induced inaccuracies in the map, slowly erasing the bad data but keeping all the good data. As I have explored the interface between the digital and real worlds, I have learned that this type of engineering approach is essential to success.
* If there exists a point on a raytrace that is closer than your current point, lower that points "credibility" value
* If there exists a point right next to or at the location of the new point, increase the credibility of that point
* Divide the world in 8 45-degree segments (0-45, 46-90, 91-135 ...)* Find the sector with the lowest average credibility
* Turn to that sector and then scan it with 1 degree increments
* Drive 1/3rd of the way to the nearest point in the segment, stopping every 15 cm to check for obstacles.
* Repeat from beginning.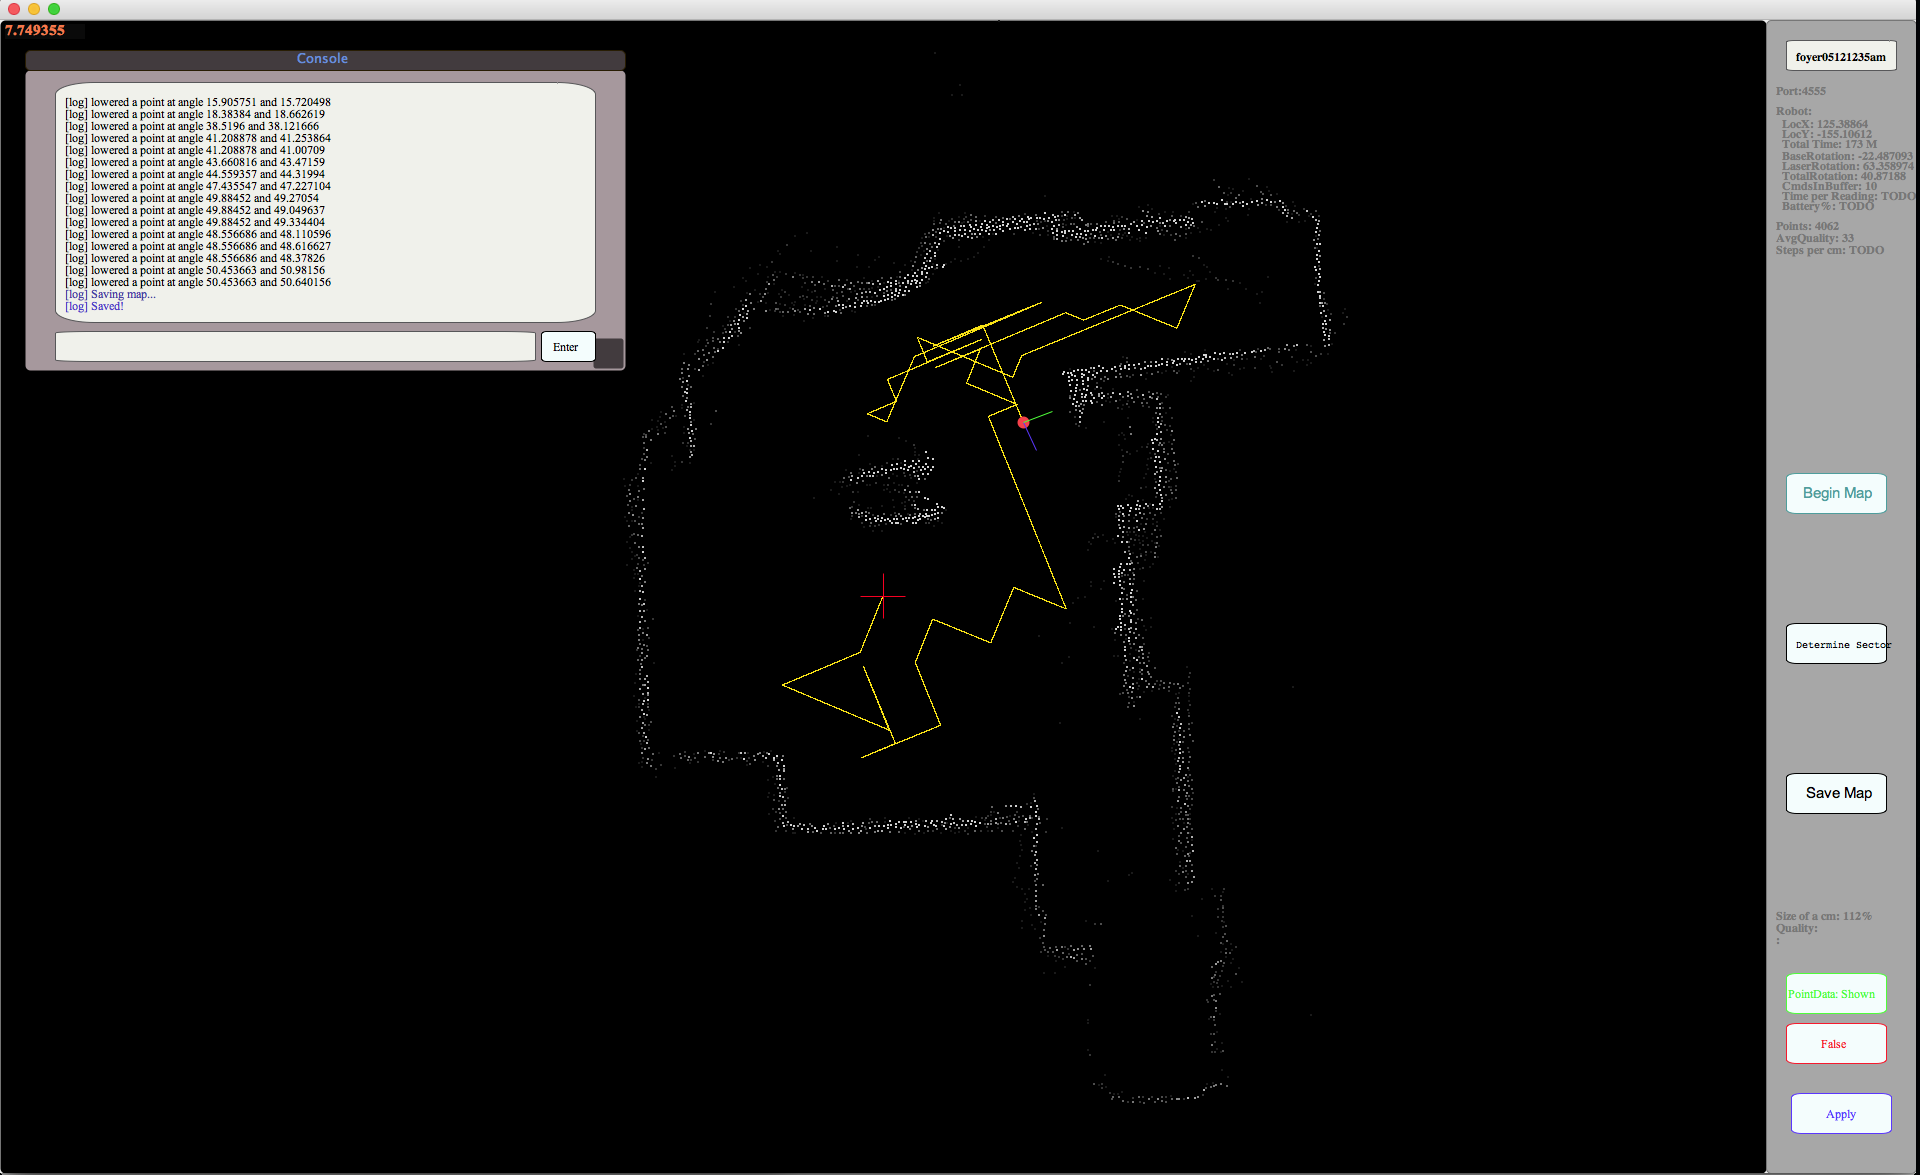
All content on this page belongs to Zachary Porter. You may use, reproduce, or modify anything from this website, provided that you give credit to zackporter.com in your usage.


 Source Code